Oracle Commerce Cloud Initial Settings
Oracle Commerce Cloud Initial Settings
INTRODUCTION:
We will describe, step by step, how to do the basic configuration of the platform using the Back Office Tool. This tool is the same merchants use to administer their webstore, including managing the catalog, defining the design or creating promotions, all without relying on the IT team. As Oracle Commerce Cloud is a cloud service, Oracle runs all the infrastructure and provides you only the interfaces necessary to work with you instance.
ACCESSING BACK OFFICE:
The first thing you need is access to an instance of Oracle Commerce Cloud. After registration, Oracle provides you the URLs and access credentials for several interfaces. Use the URL of the Back Office Tool and you will be asked to enter your login and password.
.png)
After login, you see the Dashboard which summaries relevant information about your instance.
.png)
In this case, the instance is not configured yet so there is nothing to display.
In the top banner you find several tabs selectors reflecting the operations available in this administrative interface. For now, we are interested in the Settings tab.
ORACLE COMMERCE CLOUD SETTINGS
After choosing the Settings tab, you see a screen with two panes: on the left you have several settings options while on right you find the corresponding configuration area. For this article, we choose Site Settings that contains the general instance settings, most of which are only set during the initial configuration.
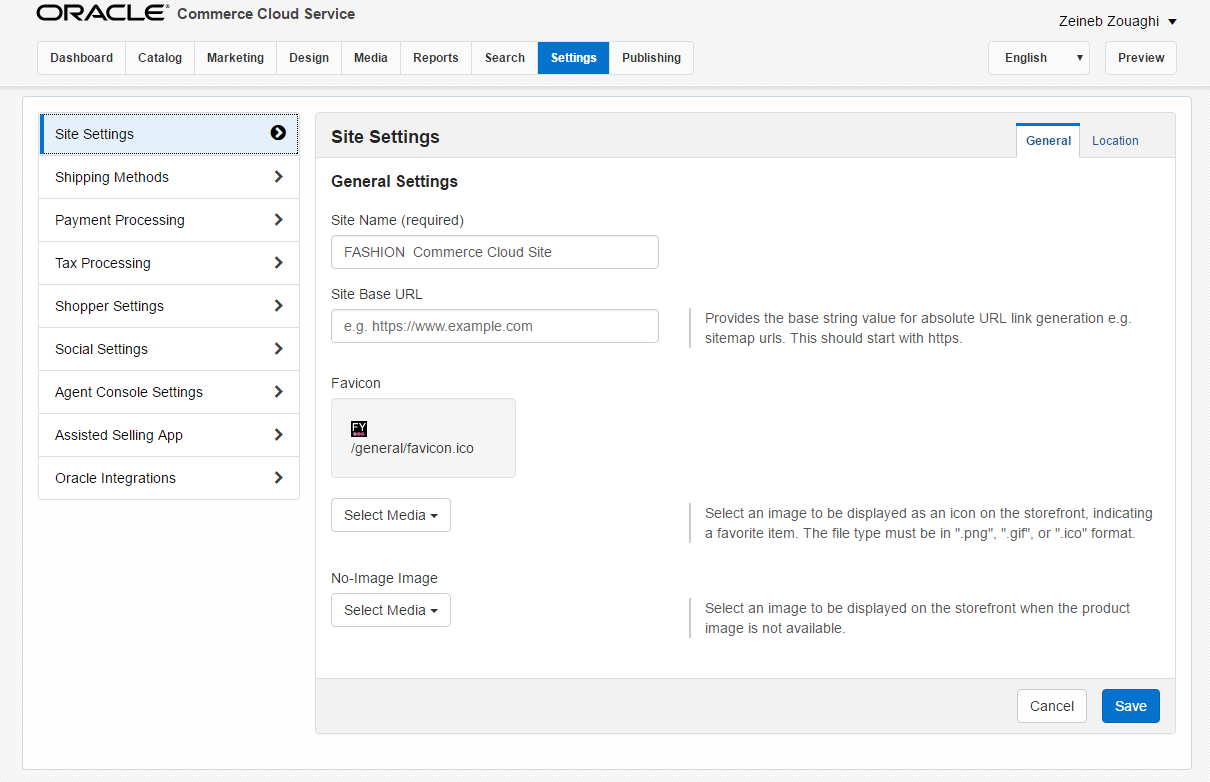
SETTING THE SITE NAME
The first thing is to name your site. In our case, we called it Fashion Commerce Cloud Site. Hit the Save button and you will get a pop-up confirming the operation.
SETTING THE LOCATION
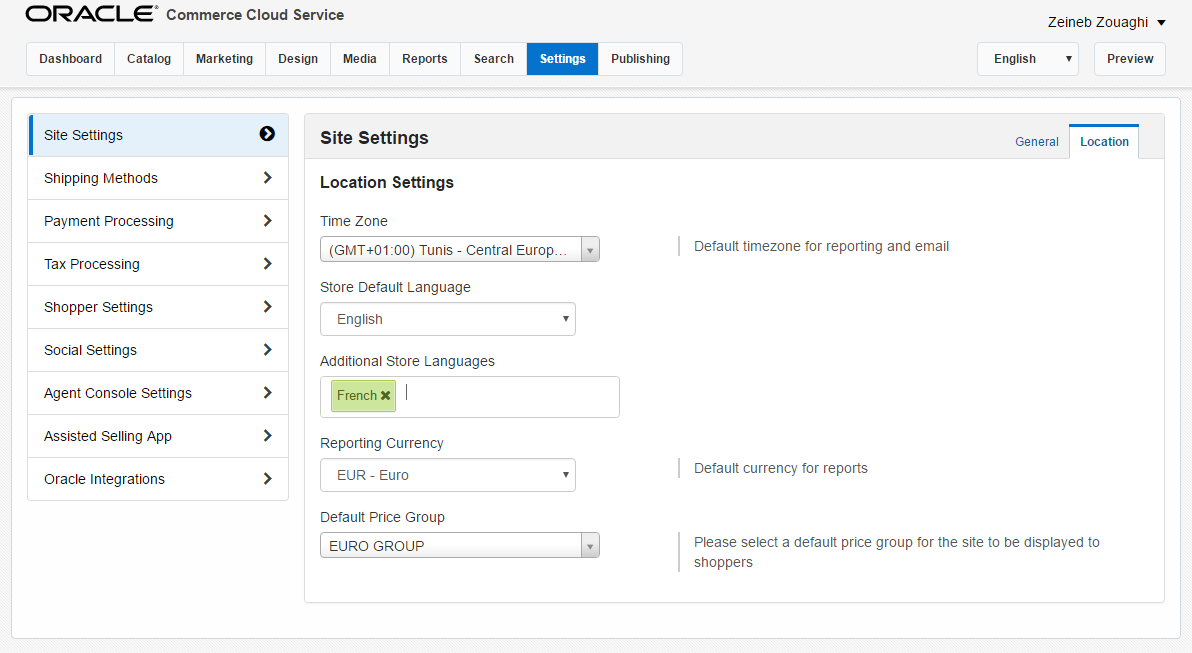
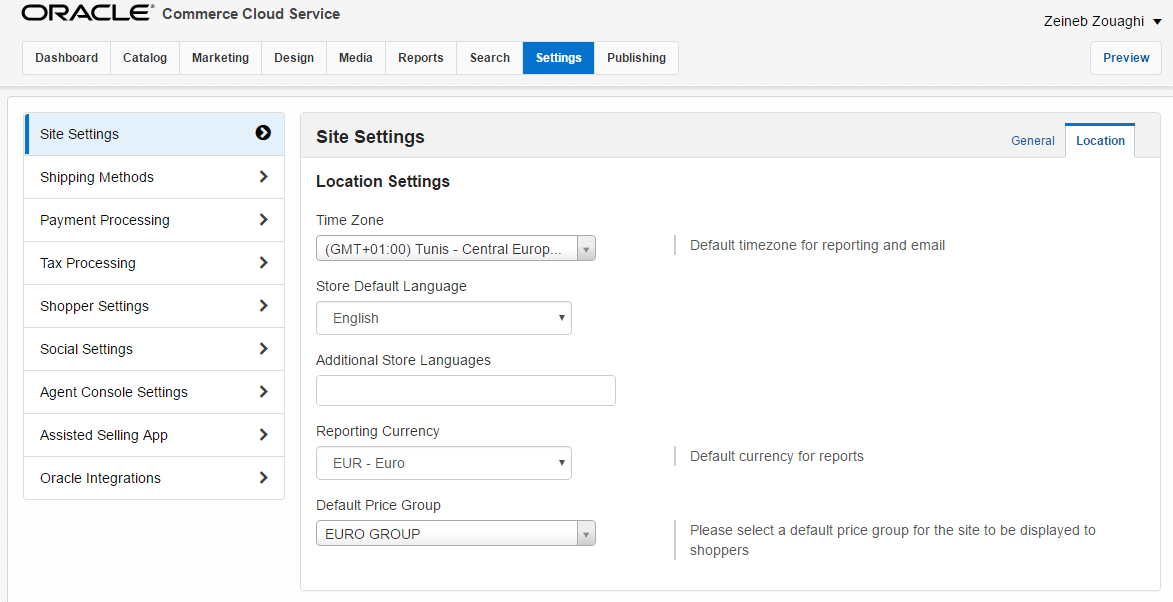
Below the top tabs selectors you have another tab where you choose Location. Here, you find the time zone, language and reporting currency settings.
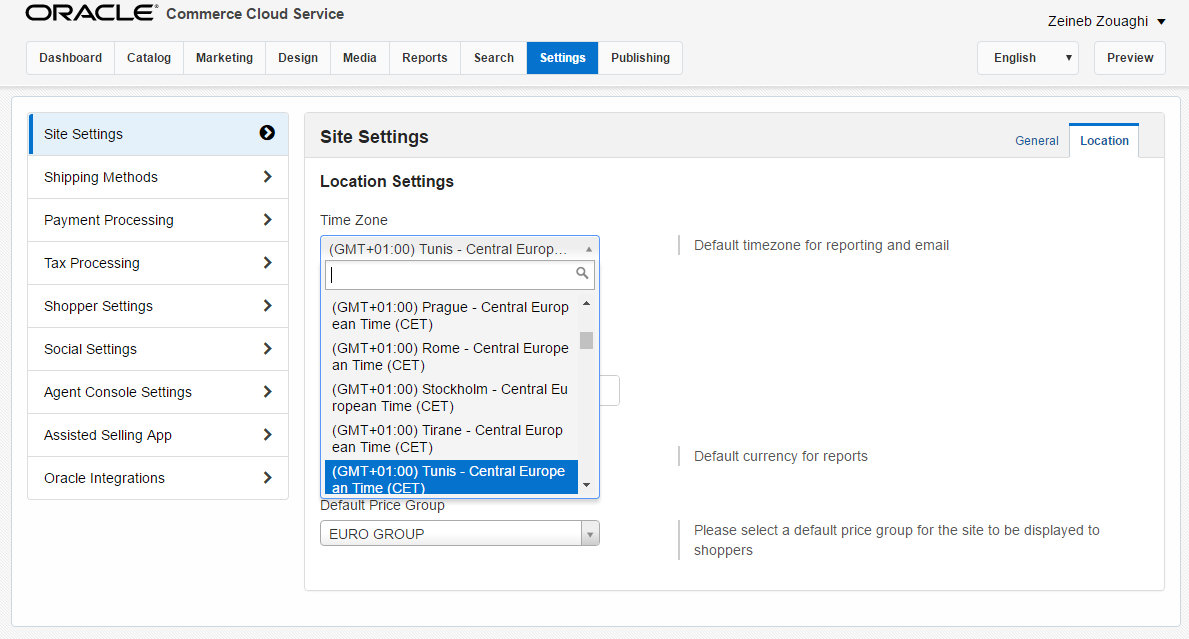
CHOOSING TIMEZONE
Since OOCS is a cloud service it can run anywhere in the world. But emails sent automatically to users or your reports need a time reference, usually consistent with your physical location.
You choose your time zone using the drop-down menu. The search box helps you finding you location. In our case, we chose Tunis – (GMT+01.00).
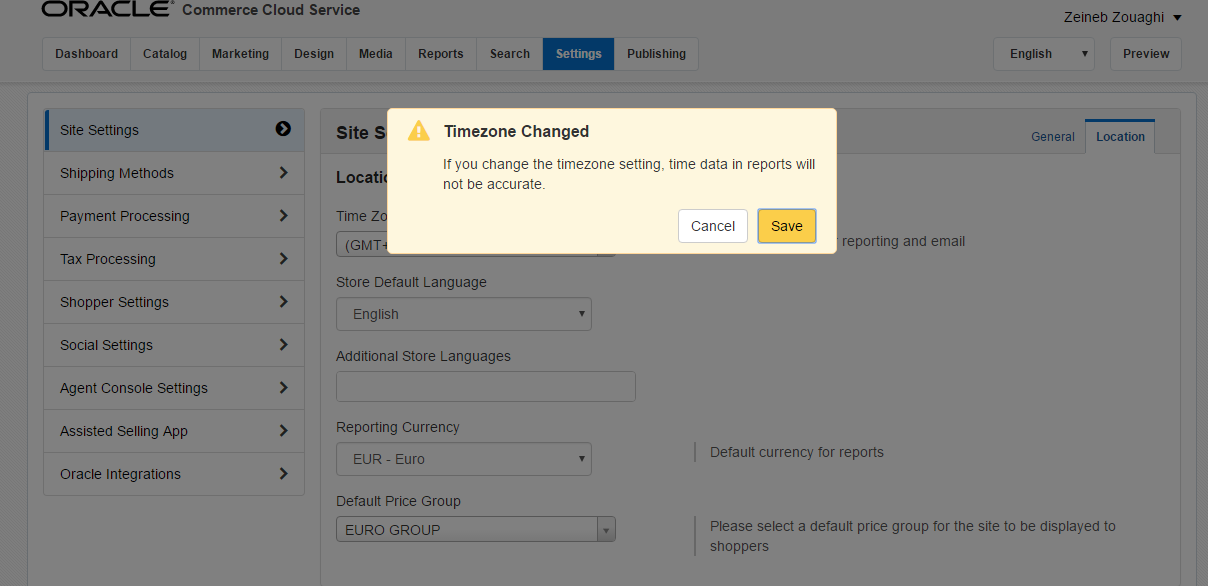
You get a warning since this change can lead to reports mixing events in different time zones. In this case, you can safely choose Save since you are configuring the system for the first time.
HANDLING LANGUAGES
The Oracle Commerce Cloud supports multi language store fronts out-of-the-box. Currently, 29 languages are available and Oracle plans extending this list. By default, the store front offers only a language but adding more is simple.
When accessing a multi-language store, the locale configuration of the user’s browser is checked against the list of offered languages. If the preferred one is available, this is used to display pages and pre-configured emails, also determining the format of numbers, dates and currency. Otherwise, the systems uses a fallback mechanism, first trying a parent language (e.g. trying generic English when US English is unavailable) before resorting to the default one. The user can override this mechanism by manually selecting a language from a menu in the store.
You can choose your default language from the drop-down menu Store Default Language. We kept English as our default language.
.png)
After the initial configuration, it is not advisable to change the default language.
For configuring a multi-language store you have to click in Additional Store Languages and add more languages.
.png)
To add French start typing until it appears selected and hit enter, or scroll down and click on it.
.png)
It’s that easy to configure a multi-language store front!
WORKING WITH PRICE GROUPS
You may want to handle several currencies in your store, while having distinct price policies and promotions for each one. For this, OOCS offers price groups where each group presents a currency option to the user in the store. The currency is independent of the language.
For accessing the price groups configuration click on the Price Groups tab next to Location tab. You see the Support Price Groups list. The OOCS comes configured with a default price group set to the US Dollar.
.jpg)
In our system, we already added the Euro to the list. For adding a new price group you click on Add Price Group and a box pops up.
You have to provide a name for your new price group. We called it Pound. The ID is automatically generated from the name but you can change it providing that it is unique in the system.
The new Pound price group appears in the list and you can make it available in the system by clicking in Activate.
CHANGING THE DEFAULT PAYMENT GROUP
The default price group determines the currency of the prices that users see as default when accessing the store. For changing the default price group, click on the price group name and a box will pop-up. Check the Make Default Price Group box.
CHANGING REPORTING CURRENCY
For reporting purposes, you can choose any of the currencies configured in the Price Groups. Go to the Location tab and click on the Reporting Currency drop-down box. In our case, we changed the default from US Dollar to Euro.
.png)
Again, you get a warning since this change may have impact in reports once there is data in the system. Click on Save.
CONCLUSION
The basic initial configuration of your Oracle Commerce Cloud instance is that easy! Multi-language and multi-currency stores are available out-of-the-box with minimum configuration effort. This reduces time and costs to launch your business online.
The next step is configuring the design of your store front so you can see these features in action. That’s the subject for another article.
Category: Oracle Solutions
0 Comments